Aboriginal dot painting is one of the most iconic art styles from Australia — filled with color, patterns, and ancient stories. Traditionally created using natural pigments and wooden tools, the technique can be adapted into a fun and respectful DIY project using basic materials like Q-tips. Whether you’re an artist, educator, or simply curious, this quick activity introduces you to a cultural tradition that stretches back over 40,000 years.
What Is Aboriginal Dot Art?
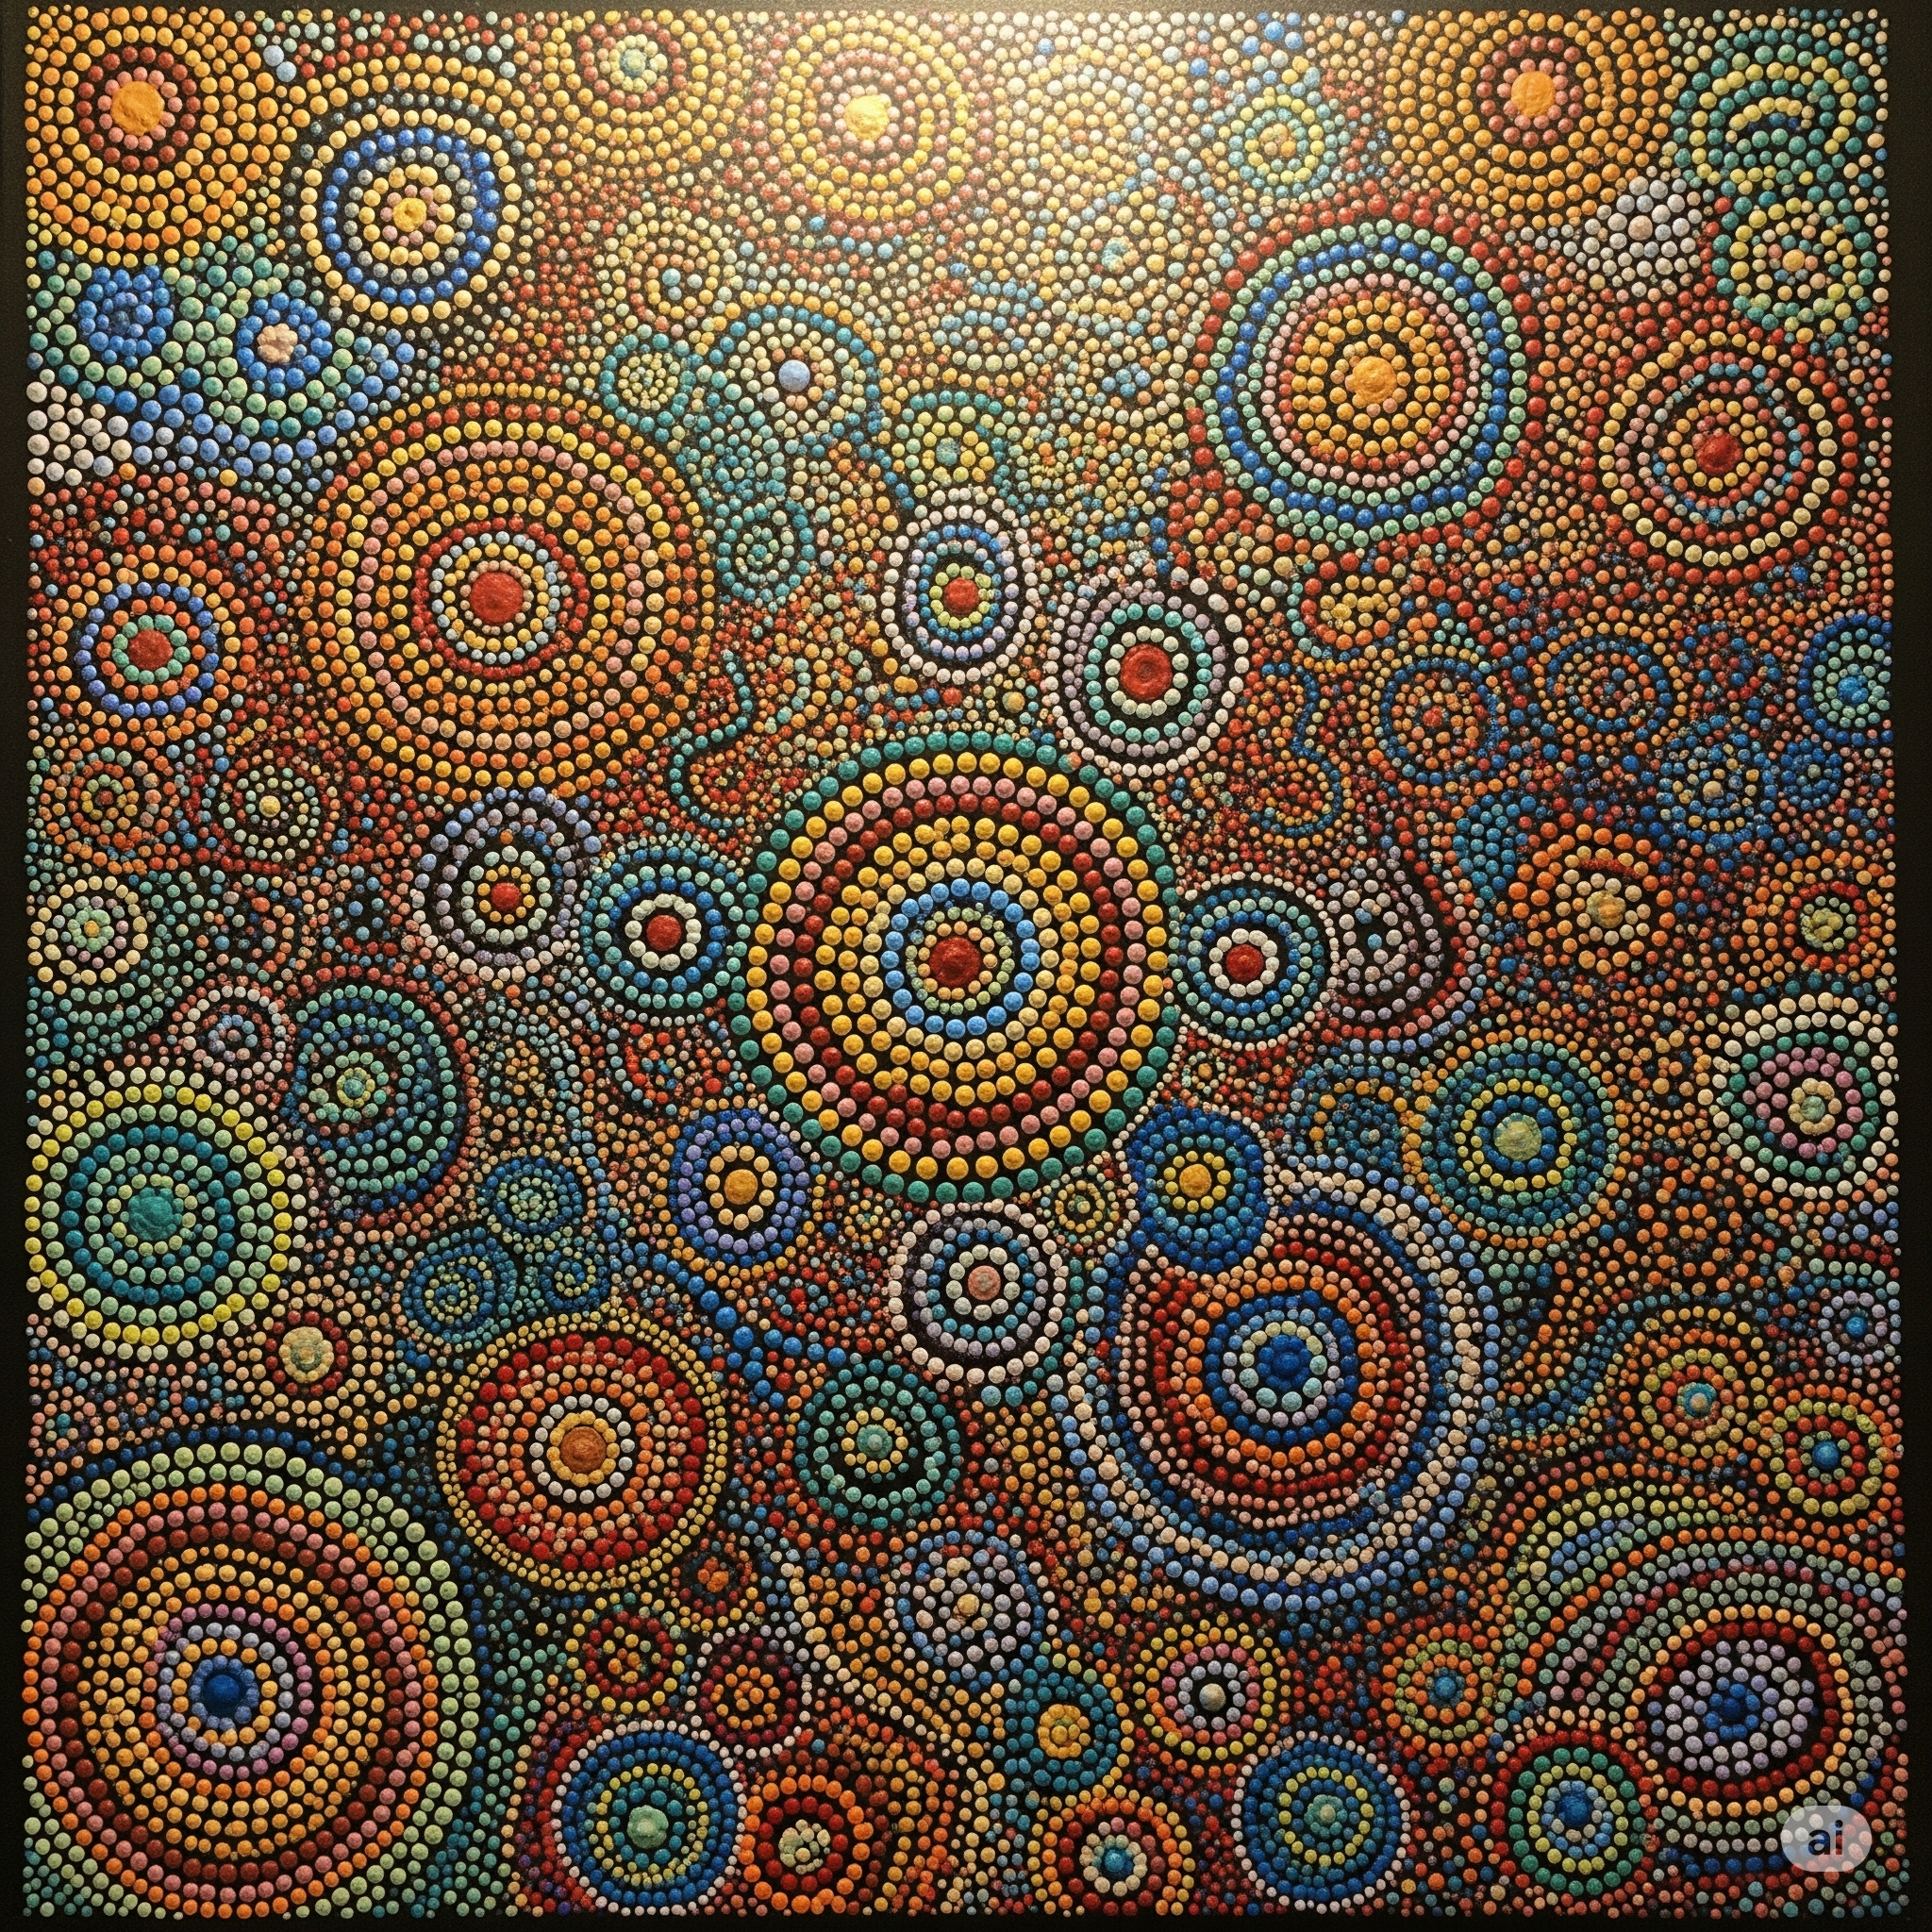
Dot painting originates from Aboriginal communities in Central and Western Australia, especially the Papunya Tula region. It involves creating symbolic patterns using thousands of tiny dots. These dots often represent landscapes, animals, or Dreamtime stories — spiritual narratives passed through generations.
Each painting has hidden meanings. What looks like abstract geometry to outsiders can actually represent sacred knowledge, maps, and tribal law. In some cases, certain elements are deliberately disguised to protect their spiritual significance.
Craft With Respect
This DIY version is a simplified, respectful introduction to dot art techniques — not a replica of sacred artwork. Always acknowledge the culture you’re learning from. This project is meant to appreciate, not appropriate.
Materials You’ll Need
- Thick paper or canvas board
- Acrylic paint in earthy colors (ochre, red, white, yellow, black)
- Q-tips (cotton swabs)
- Pencil (for sketching base design)
- Paper plate or palette for mixing
- Optional: Paintbrush for background color
Step-by-Step Instructions
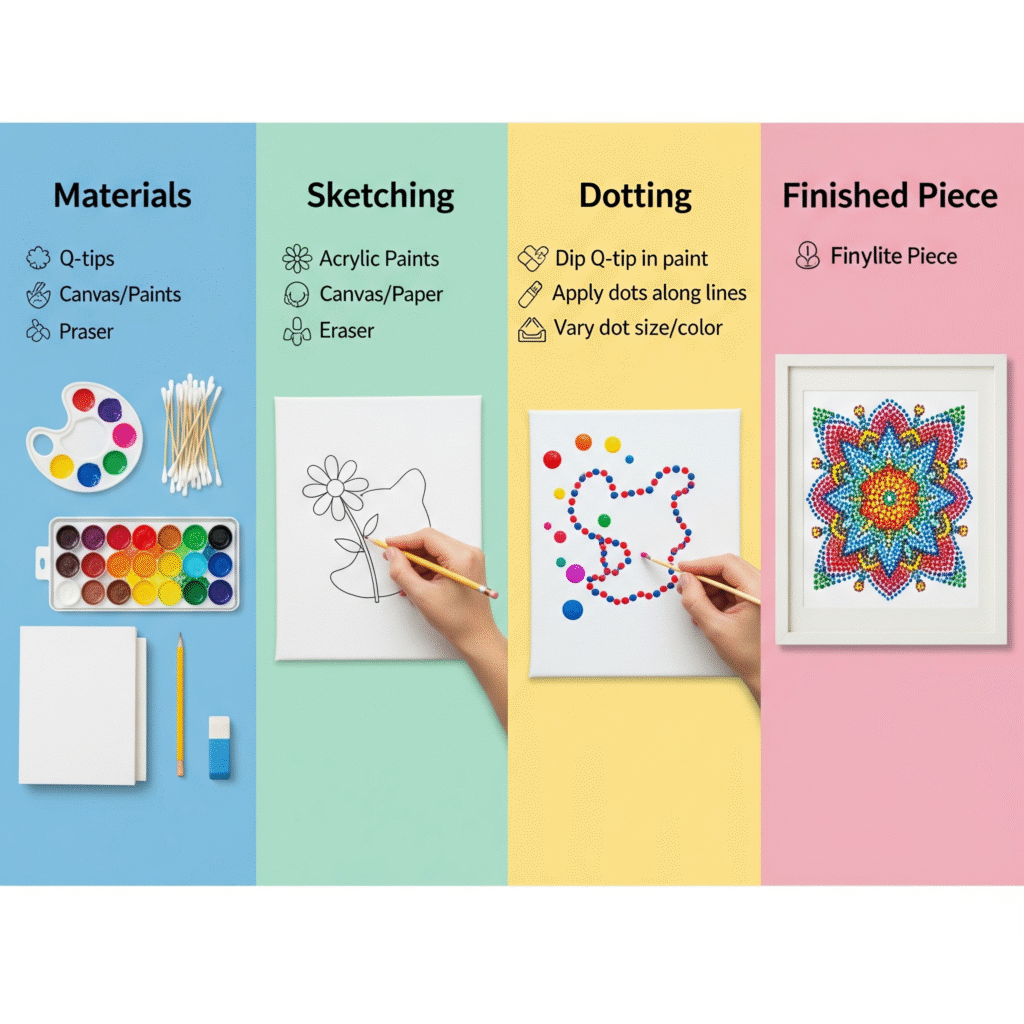
- Prepare the Surface: If you want a colored background, paint your paper or canvas with a solid color (dark brown or black works great). Let it dry completely.
- Sketch a Simple Design: Lightly draw circles, paths, or animal shapes. You can use traditional motifs like waterholes, footprints, or abstract lines that symbolize travel or connection.
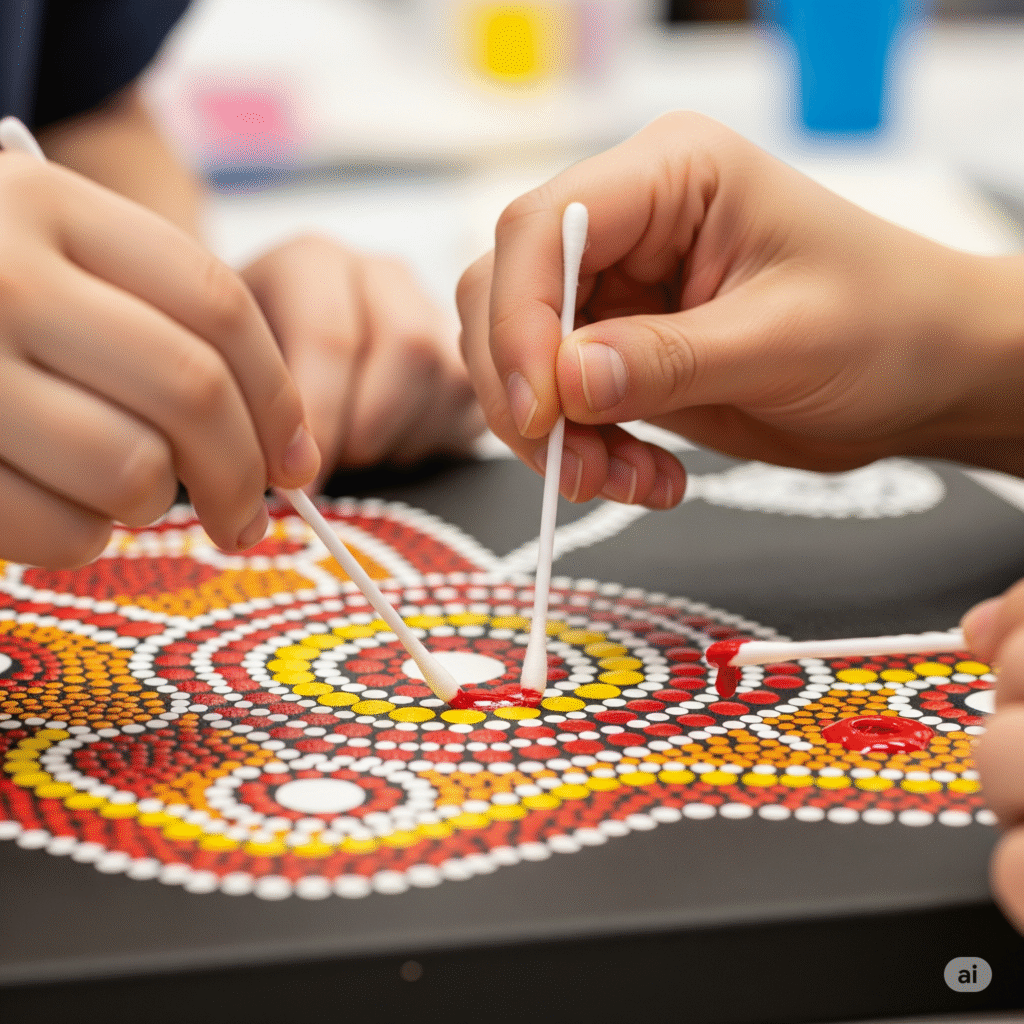
- Dip and Dot: Dip a Q-tip in paint and begin dotting along your outlines. Continue layering dots, alternating colors to create contrast. Use different angles of the Q-tip for varied dot sizes.
- Fill the Space: Use dot clusters, spirals, or concentric circles to fill in the shapes or backgrounds. Focus on balance and repetition.
- Let it Dry and Display: Once dry, your artwork is ready to be framed or gifted!
Meaning Behind the Dots
While you’re dotting, think about movement, connection, and nature — all key ideas in Aboriginal art. Many artworks show journeys, tracks, and meeting points. Even if you’re improvising, you’re still reflecting the rhythm and repetition found in traditional works.
Ideas for Motifs
- Sun or stars: Use radiating circles of dots in warm colors
- Waterholes: Concentric circles surrounded by travel lines
- Animal tracks: Repeating patterns that mimic prints
- Spirals: A symbol of continuity and movement
Learning Through Making
This 5-minute project is not just about making something pretty. It’s about pausing to engage with an ancient visual language, one built on harmony with nature and respect for the unseen. If this sparks deeper interest, explore Aboriginal artists like Emily Kame Kngwarreye or Clifford Possum Tjapaltjarri, whose works speak across time.
And remember: the goal isn’t perfection — it’s intention.