
Here we will show you how to make a square photo holder out of polymer clay that is both beautiful and practical. Not only can you display your cherished photos in style with this one-of-a-kind photo holder, but it also injects some originality into your home decor. Whether you’re creating it to give as a present or keep for yourself, it’s an enjoyable and adaptable craft that lets you showcase unique memories.
Materials you will need

- Polymer clay
- Knife or cutter
- Printed photo of the desired size
- Acrylic paints
- Paintbrushes
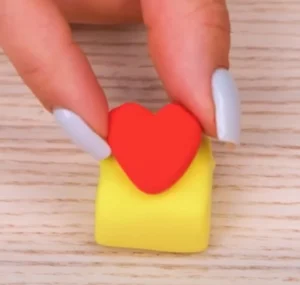
1. Knead the polymer clay until it softens, then shape it into a square.

2. Use a tiny bit of polymer clay to shape a heart or any other desired detail.
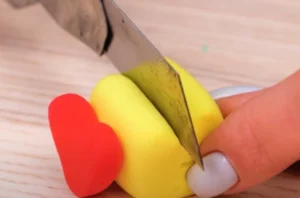
Third, make a small, side-to-side incision in the clay square’s top with a knife or cutter.
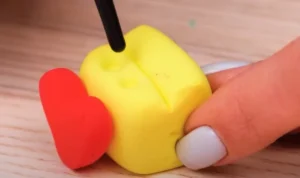
4. Outline the whole square with a few circles made with the back of a brush.
5. After you constructed the circles, use a contrasting color to color inside them.

6. After letting it dry, After you’ve cut a notch into the top of the photo holder out of the polymer clay, slide in the photo.
