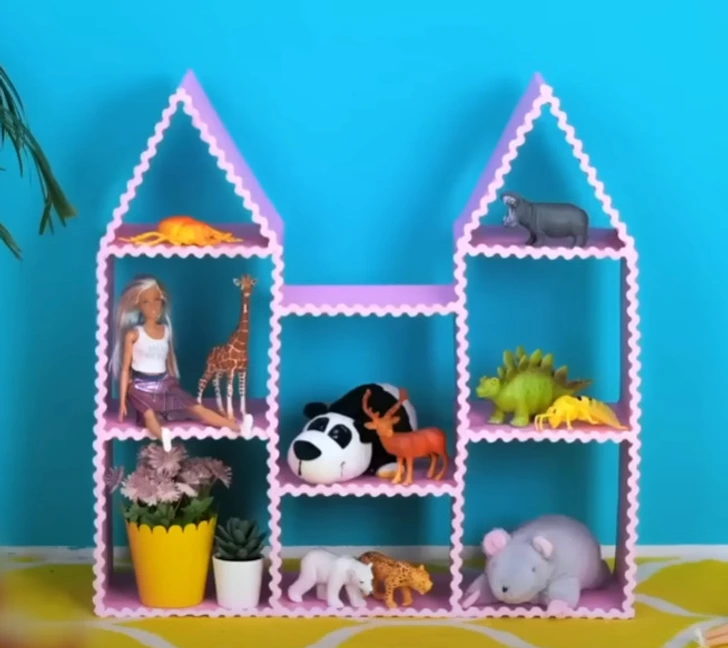
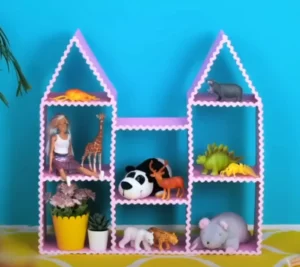
This post will walk you through the methodical process of building a cardboard dollhouse or shelf, a great do-it-yourself project combining design with use. This article will help you design a creative shelving system for your valuables or a lovely dollhouse for your child.
Resources you’ll require
- Cardboard
- Hot glue
- Scissors
- Ruler
- Pencil
- Color adhesive paper
- Decorative adhesive tape
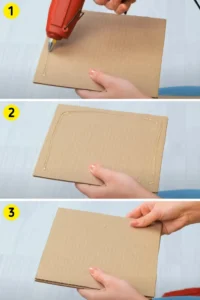
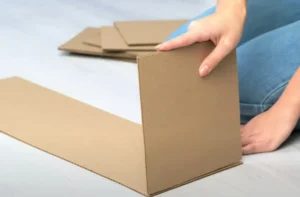
- If your cardboard is rather thin, glue it in double layers. Cut square pieces of cardboard of the same size to build the walls and ceilings of the construction.
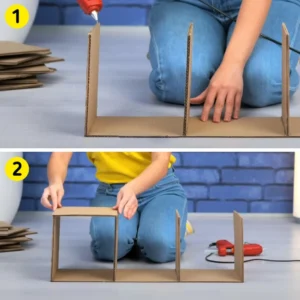
2. Cut a rectangle base piece with two sides the same width as the squares and two others three times their width.
3. Glue the walls vertically to the base rectangle.

4. Use glue to stick the roof to the top of the walls.
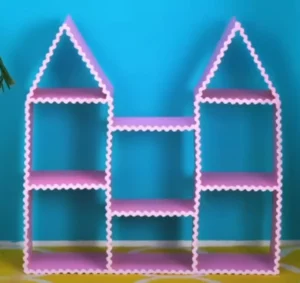
5. The building will have three roofs, each at a different height. Connect the two roofs on the outside to the same level.
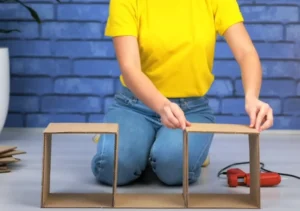
6. Put the roof in the middle of the structure a little bit lower than the other two.
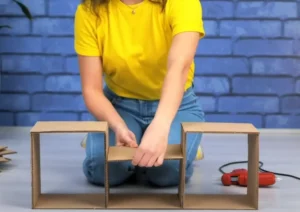
7. Following the same steps as before, add an upper floor. This time, glue the walls to the roof instead of the base.

8. Place the second floor ceiling as before, two at the same level and one slightly lower.

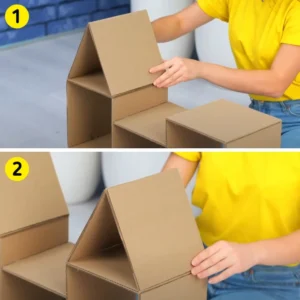
9. We will add a triangle made of two square pieces of cardboard of the same size as the rest of the construction to the two roofs of the same height to recreate the roof.
10. The frame is now complete; we will cover it with adhesive paper to add colour and make it stronger.

11: Line the inside as well; you can choose a contrasting tone or the same tone; either way will look lovely.

12. Finally, for a flawless finish, wrap the cardboard edges with ornamental adhesive tape.